Lego Inspired Environment
This was part of a project I did to test out new features in UE4

End Result (Play View).

End Result (Editor View).

The terrain was created by using the terrain tool to allow for the use of other tools such as the terrain paint tool. As shown above, I used 6 different layers this to allow more control on how the terrain looked.

Painting the terrain was done by creating a material and layering out the multiple layers that material contained over each other with the terrain painting tool. Creating what you see here.

For some objects like rocks and flowers. I used the foliage paint tool to allow me to quickly paint down a large number of static meshes. This also creates them as instanced meshes allowing for the use of a material node called per instance random.

The per-instance random is how I achieved the different colours on such objects and the flowers and rocks painted using the foliage tool.

This node generates a random number upon the static meshes creation allowing for a material to read said number and react accordingly.

The Trees needed to be placed in a more controlled manner. Therefore, I created a Maya & Ue4 tool that would place the trees for me.

This is the UE4 side of the tool made in to Blueprints

This is the create actor function from the last image
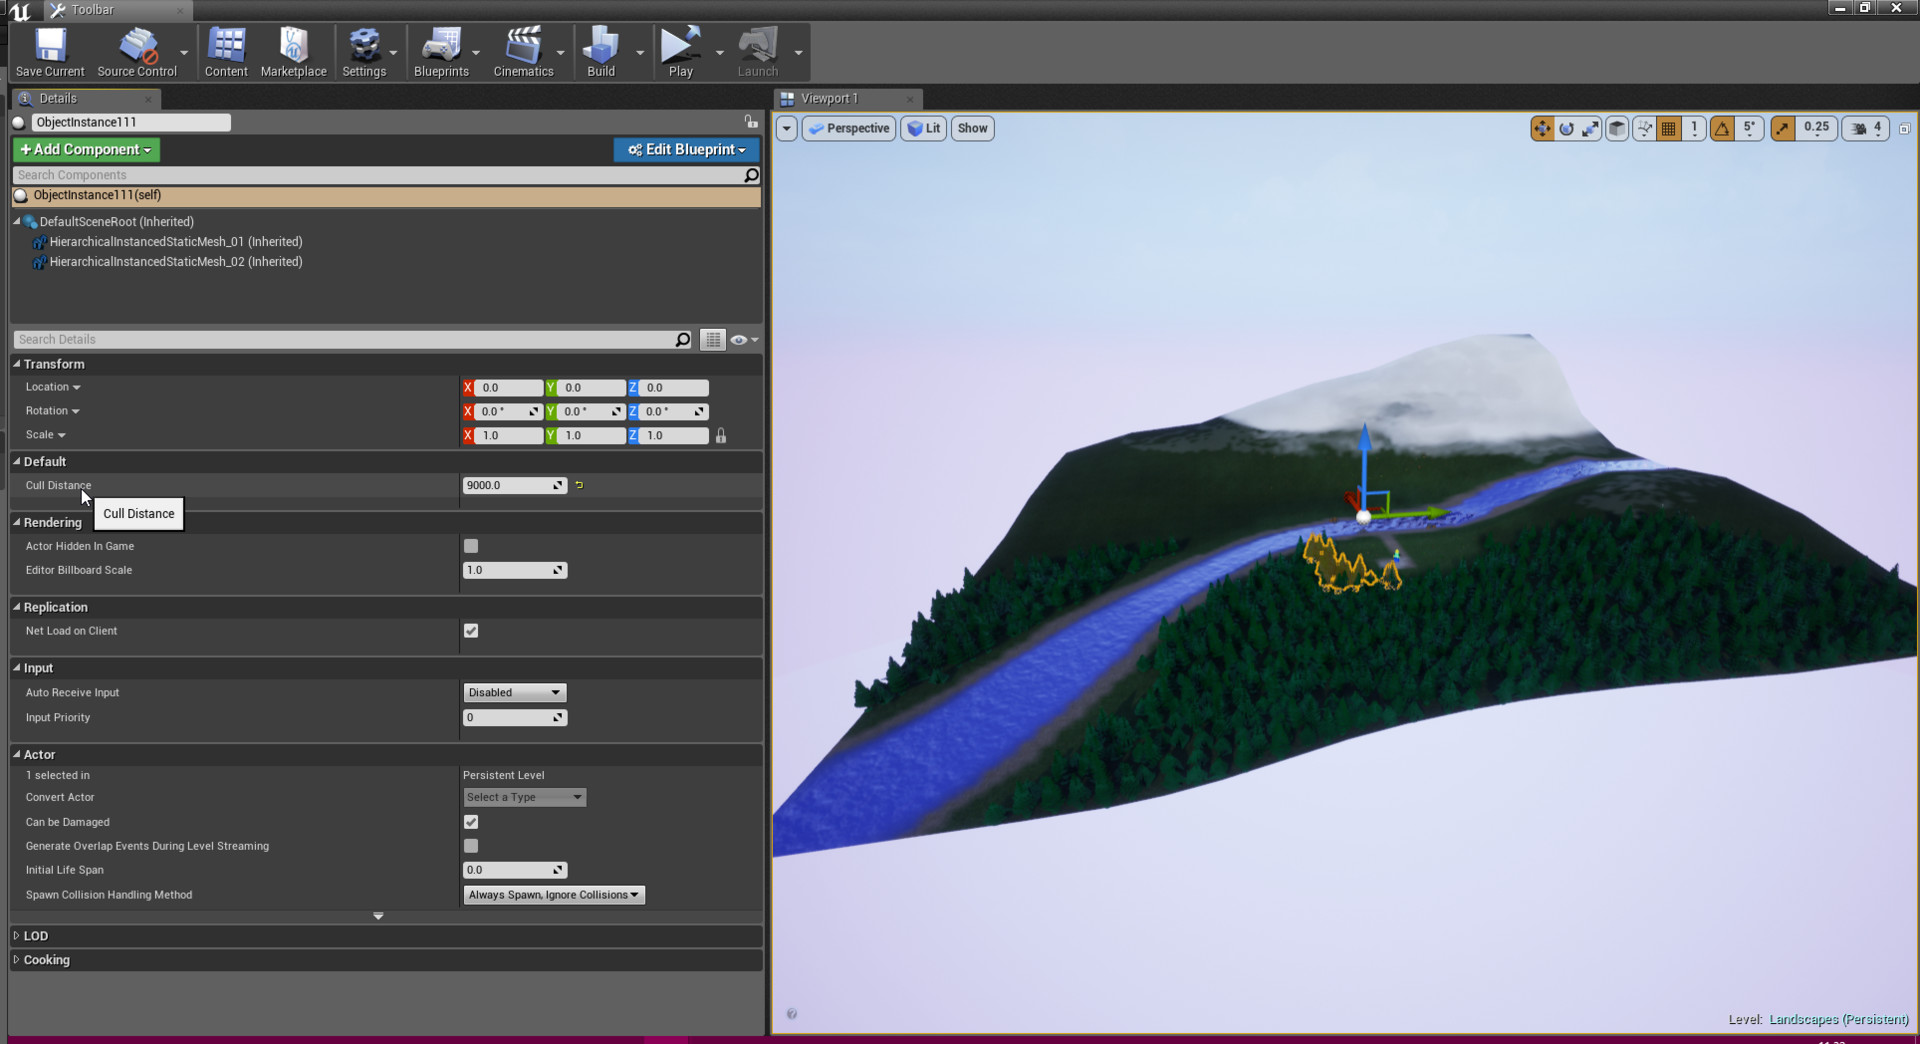
Running this tool in UE4 creates groups of instanced static mesh actors or just one depending on the settings chosen.

The Maya side of the tool pre-computes the positions where the trees will be placed based on a general area you select on the mesh. This will then export these positions in to a format UE4 can read.

The trees change colour relative to their positions on the terrain. Their material has minimum height value that snow will be shown as you can see in this video.

This is the trees material

Another example of the tree placer tool


Lego style flooring material
