Maya Curve to UE4 Spline Tool
Update: This tools got a free example here -> https://www.artstation.com/marketplace/p/v2kp/maya-curve-to-ue4-spline-exporter
If anyone technical enough to understand Maya's python and UE4's blueprints, feel free to have a download, test it out and see what you learn from this. A more fleshed out tool will be coming but this is to help people who are in need of a tool like this for various reasons.
This tool was built with the intention of it being used for tasks that require lines to be followed precisely, for example, creating barriers on a racing track or laying down rail tracks.
This tool takes a curve created within Maya, exports the data and then re-creates it within UE4 as a spline. This tool also contains added features such as a previewer within Maya as to how a mesh will looks if placed along the spline. As well as, functionality within UE4 to change the mesh the spline will display both by default and at either end of the spline, an additional config UAsset can be created to allow for customisation of the whole spline along with the mesh used.

The curve exporter tool can be found in the top right-hand side of this image. The Curve Exporter section takes in the length of an object (On the Axis it will be following), a name for the curve data and a save location.

The Rebuild button will rebuild the selected curve based on the length of the mesh, The Export button will export the required data from a selected curve to the location you set. Preview allows you to see how the mesh will be placed along the curve.

The data will be exported to the location you selected, It will also name the data the name provided in the CurveDataName tab.

Importing this data is simply a cast of pressing import, finding the file and assigning a data table. This is informing the engine how it should read this data when imported a new UAsset is created.

The UE4 side of this tool allows for more control over how the spline is used. When a UAsset containing spline data is added to the tool it automatically generates the spline (As shown). The buttons on the tool allow for reversing or reloading the curve.
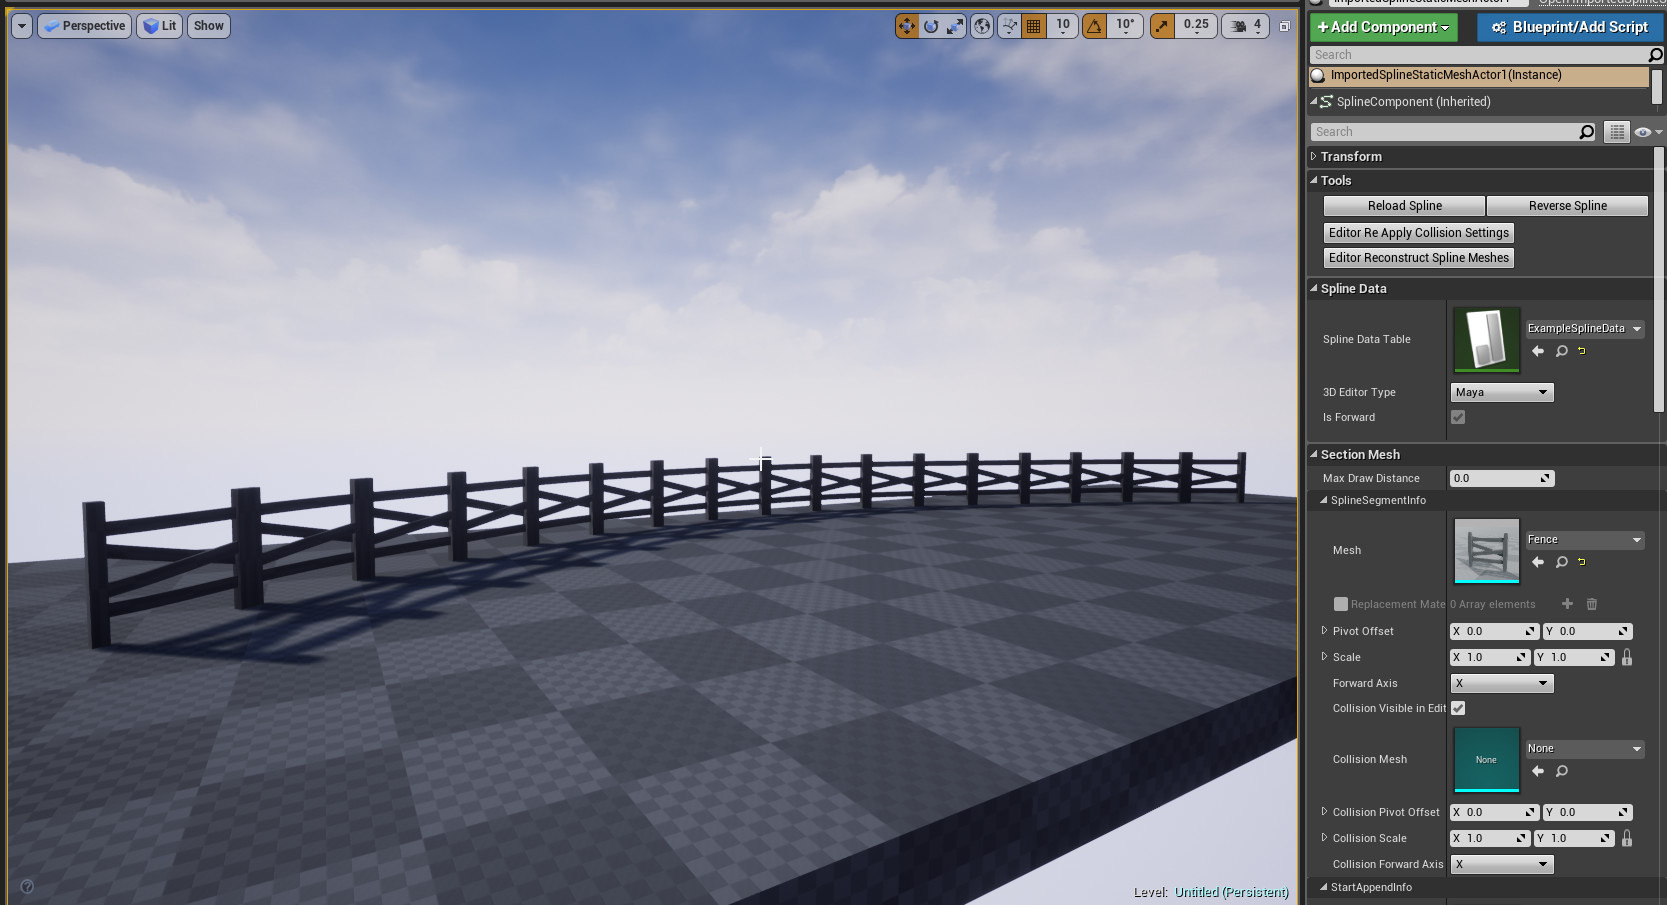
Applying a mesh is simply just a case of applying a static mesh to the slot for it, there are 3 different mesh slots. 1 for the default mesh, and 2 for ether endpoints of the spline, this is the same for the collision meshes too.

Max Draw Distance is a value that will control the cull distance of the meshes on the spline.

Materials of each mesh can be changed, regardless of material slot or location on the spline. For the endpoints by simply add the new material and its ID to the Replacement Materials array.

More detailed changes such as changing a mesh in the middle of the spline, can be done with an additional config UAsset as shown above. This allows for changing such things as; Mesh materials, scale, pivot offset and forward Axis.
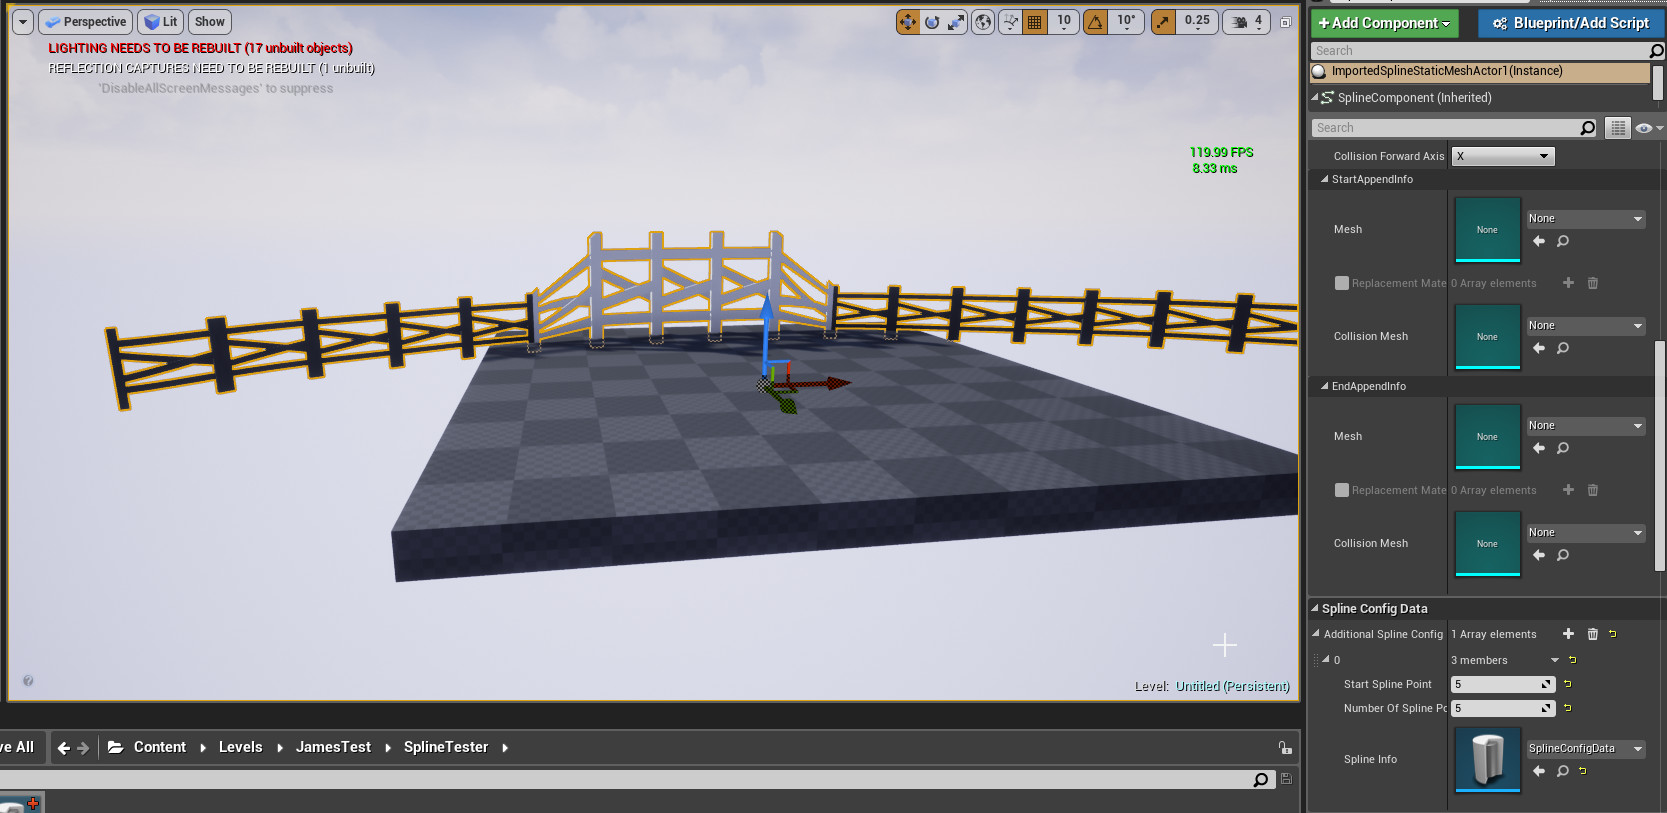
To inform to the tool where to apply these changes it is added to an array labelled, Additional Spline Configs. This contains an array of configs along with their start points on the spline and how many they will effect.